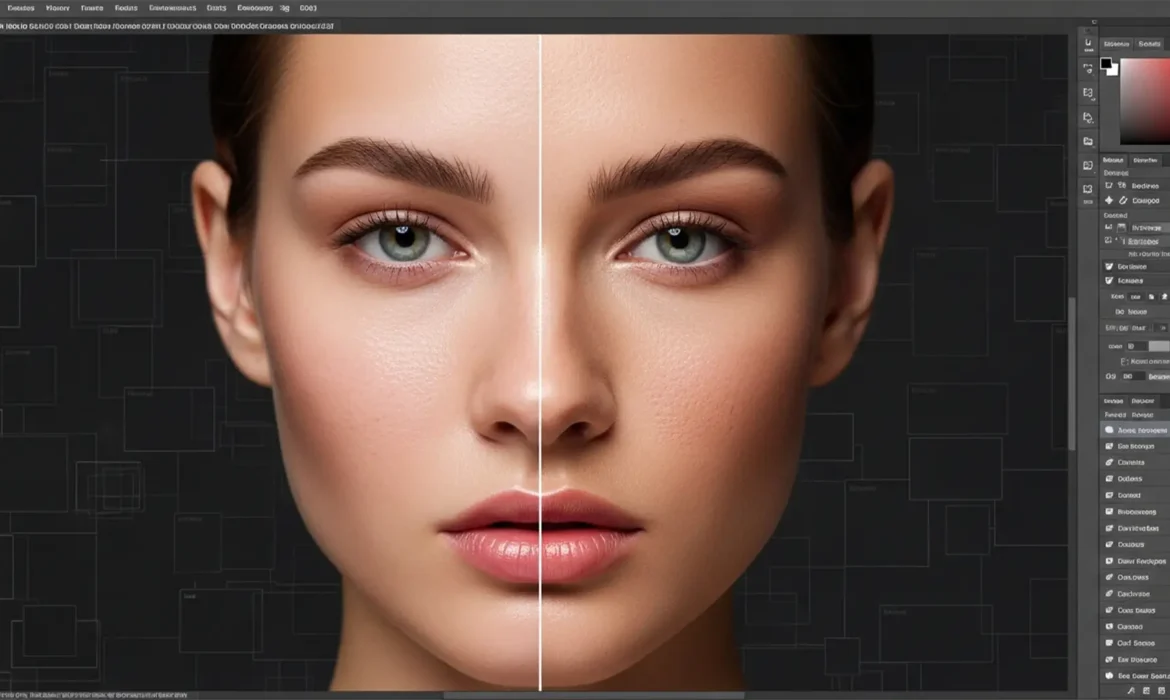
You’ve just used Photoshop’s Generative Fill to expand a portrait or remove a complex blemish. The color matches perfectly, but there’s a glaring issue: the skin looks like smooth, lifeless plastic.
In Photoshop v25.x and later, the Firefly AI struggles to replicate high-frequency details like pores, micro-texture, and fine hairs. This leaves human subjects trapped in the uncanny valley with an over-airbrushed appearance. If you are tired of your AI edits ruining the realism of your photography, you are in the right place.
Here is exactly how to fix plastic skin in Photoshop Generative Fill and restore natural, realistic texture using three professional retouching techniques.
Why Does Photoshop Generative Fill Create “Plastic” Skin?
To fix the problem, you need to understand why it happens. The Firefly AI engine powering Generative Fill is a neural network trained to prioritize color accuracy, lighting matching, and structural composition over complex micro-contrast reproduction.
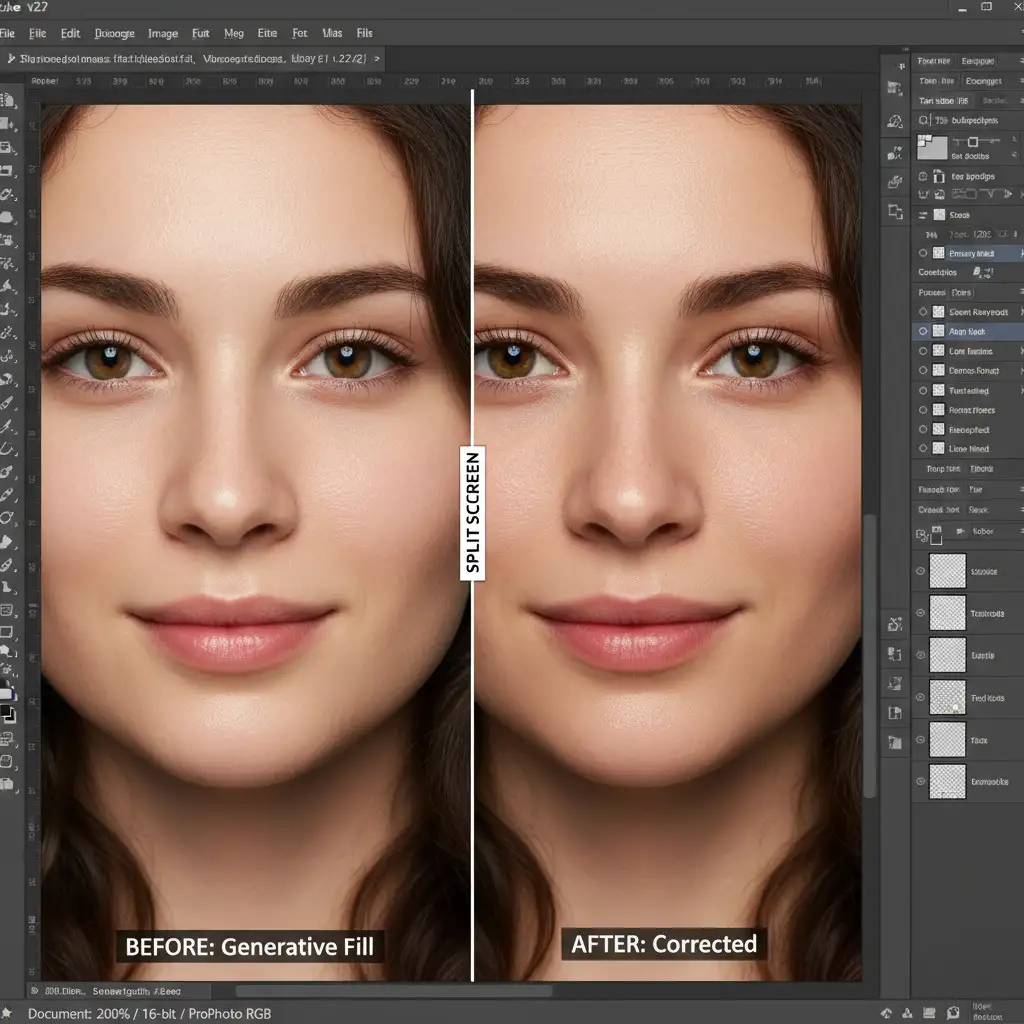
When the AI generates new pixels to replace a blemish or expand a canvas, it successfully gradients the shadows and highlights but fails to match the camera’s natural noise floor and the subject’s high-frequency details. The result is a jarring mismatch between the actual photograph and the generated pixels.
Fortunately, we can bridge this gap by borrowing texture from the original image or simulating it mathematically.
3 Ways to Fix Plastic Skin and Restore Natural Texture
Depending on your workflow and the severity of the AI smoothing, you can use one of these three methods to bring realism back to your portraits.
Method 1: The Quick Fix (Camera Raw Grain)
If you are working on a tight deadline and need a fast way to blend the AI generation into the rest of the image, matching the noise floor is your best option.
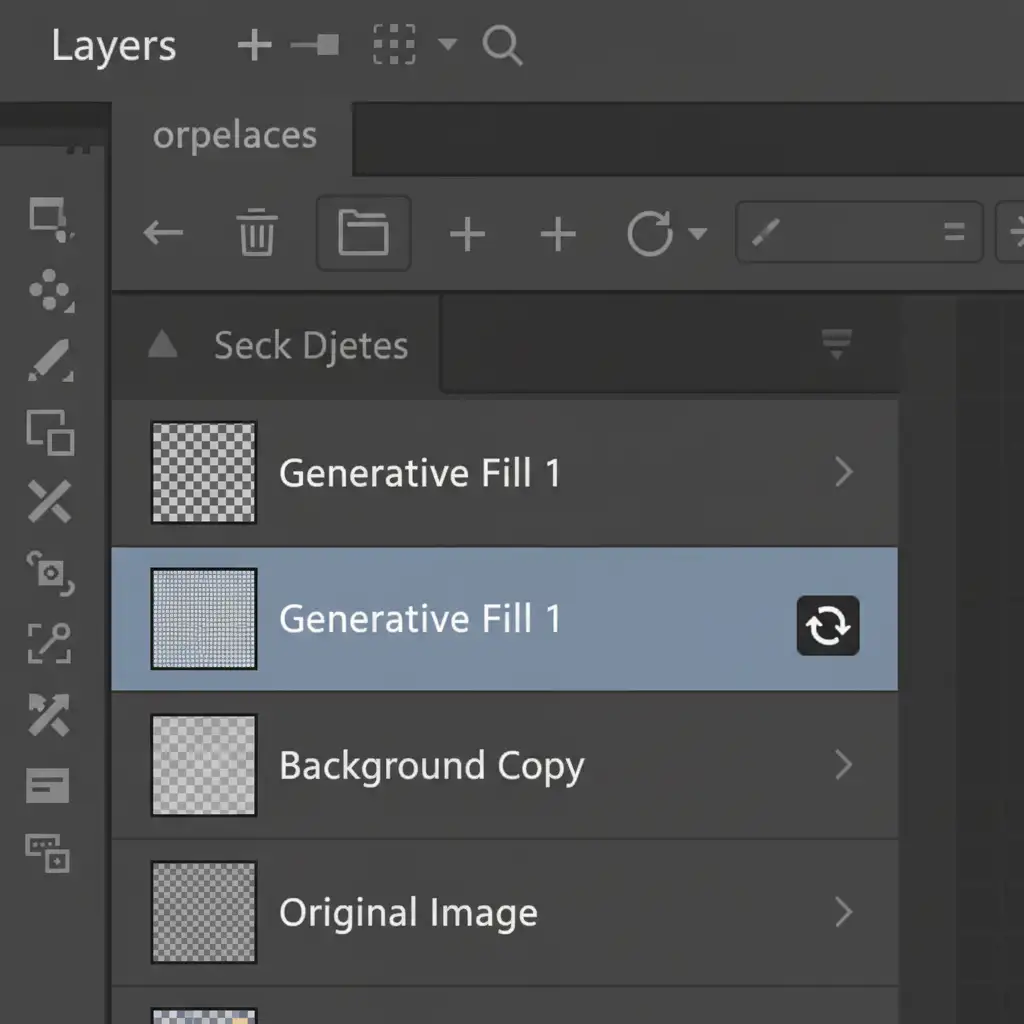
- Select your Generative Fill layer in the Layers panel.
- Right-click and choose Convert to Smart Object. This ensures your edits are non-destructive.
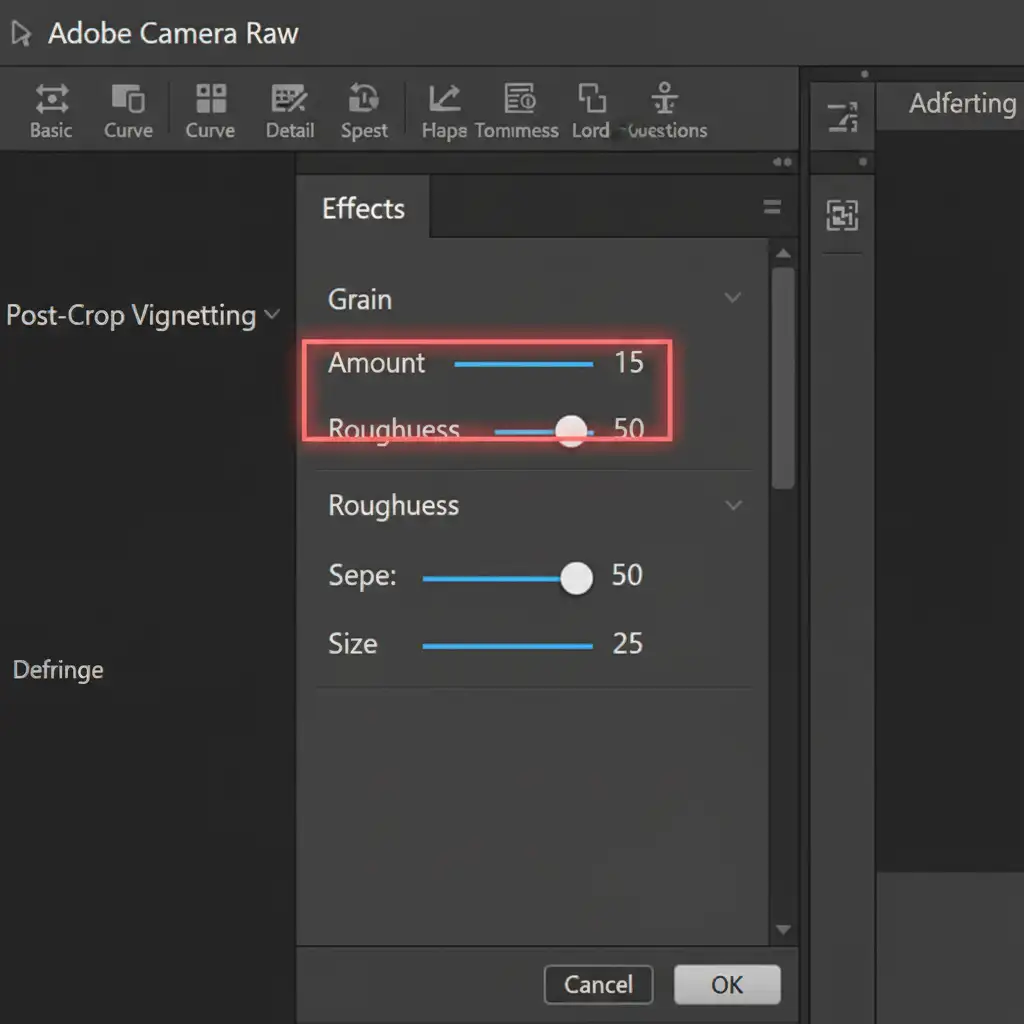
- Navigate to Filter > Camera Raw Filter (or press Shift + Ctrl + A).
- Open the Effects panel.
- Add 10–15 points of Grain with a Roughness of around 50. Adjust these sliders until the AI layer matches the natural photographic noise of the surrounding original skin.
Method 2: The Pro Workaround (High Pass Texture Matching)
When grain isn’t enough to replicate actual skin pores, the High Pass filter allows you to extract real texture from the original photo and stamp it over the plastic AI skin.
- Duplicate your original, unedited background layer (Ctrl + J).
- Drag this duplicated layer to the very top of your layer stack, directly above the Generative Fill layer.
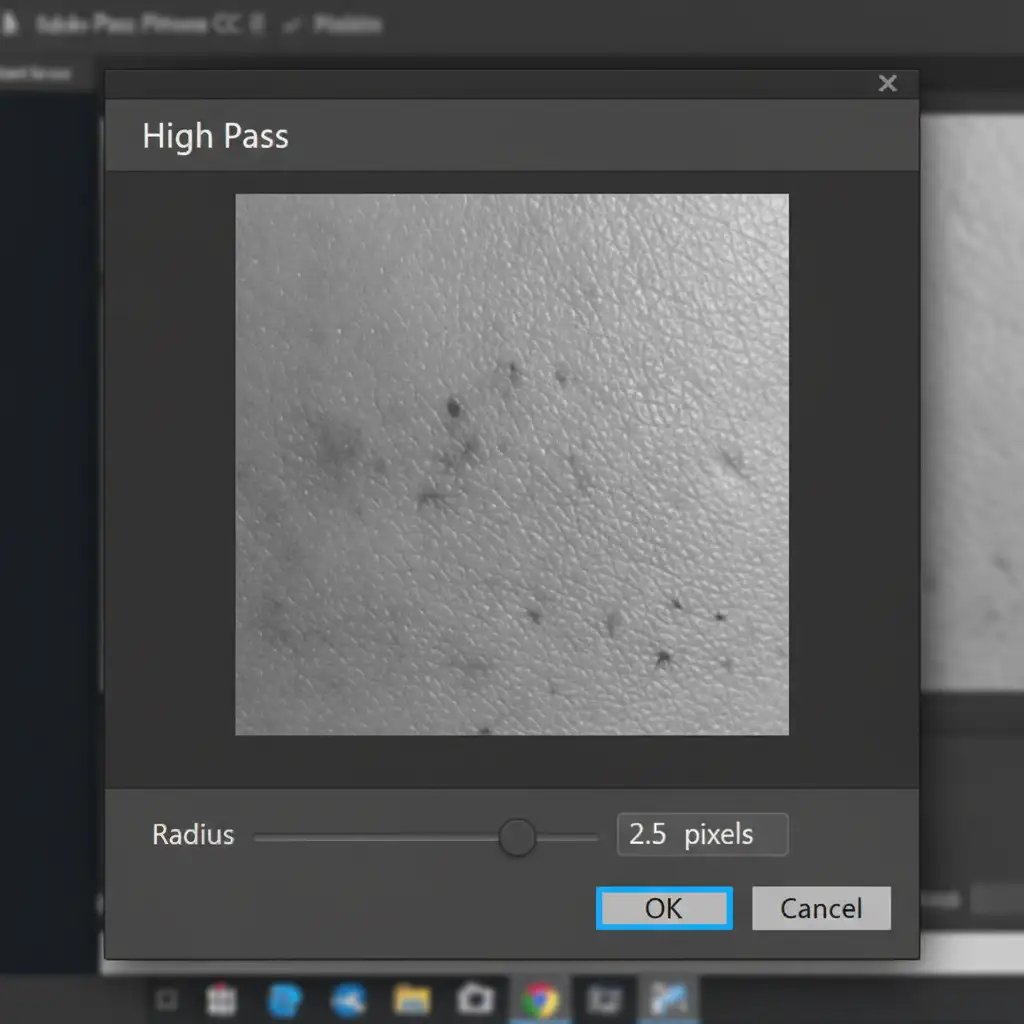
- Go to Filter > Other > High Pass.
- Set the radius between 2.0 to 4.0 pixels. You want to see just the edges of the skin pores and fine hairs appear on the gray canvas. Click OK.
- Change the layer’s Blending Mode to Linear Light.
- Right-click the High Pass layer and select Create Clipping Mask. This ensures the extracted skin texture only applies to the AI-generated area below it, hiding the plastic appearance completely.
Method 3: The Technical Deep-Dive (Frequency Separation Integration)
For high-end beauty and fashion retouching, integrating Generative Fill into a frequency separation workflow is the ultimate solution. This method forces the AI to only affect the underlying color, completely preserving the original, unaltered skin texture.
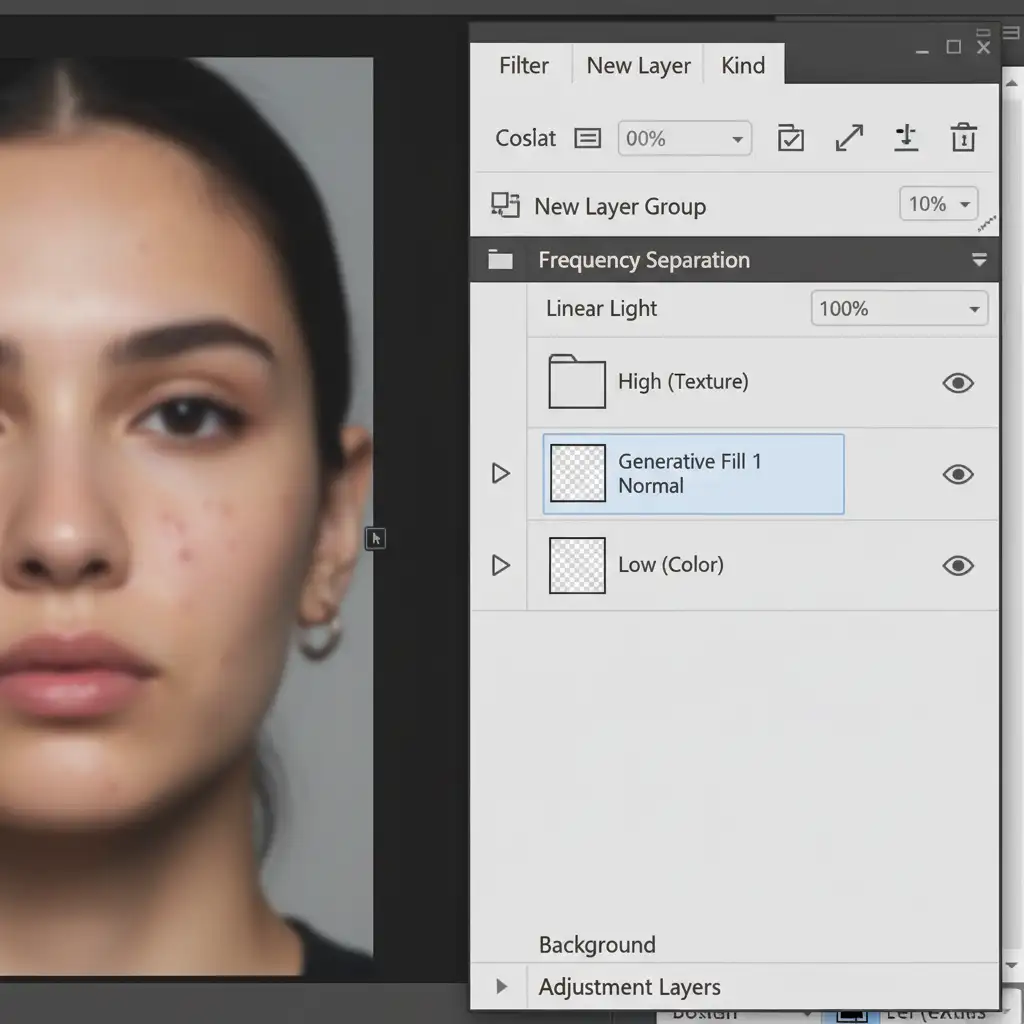
- Run your standard Frequency Separation action to split your base image into a Low layer (Color/Tone) and a High layer (Texture).
- Make your selection for the area you want to fix (e.g., a complex blemish or stray hair).
- Select the Low (Color) layer and generate your fix using Generative Fill.
- Ensure the newly created Generative Fill layer sits between the Low layer and the High layer in your layer stack.
Because the High layer (containing all the original micro-contrast and pores) sits above the AI generation, the Generative Fill only alters the color and shadow transitions. The plastic skin effect is entirely bypassed because the original, authentic texture remains untouched on top.
Stop Fighting AI—Let the Experts Handle Your Retouching
Learning how to fix plastic skin from Generative Fill in Photoshop is essential for modern editors, but it adds significant time to your post-production workflow. When you are processing hundreds of portrait, fashion, or wedding photos, manually blending High Pass filters and running frequency separation on every AI generation simply isn’t scalable.
Struggling to get natural-looking skin with AI? Trust the human experts at Image Work India and Cloud Retouch.
Our team of professional retouchers specializes in flawless, high-end portrait retouching that retains realistic skin texture, micro-contrast, and natural beauty. We combine industry-leading techniques with a meticulous eye for detail, ensuring your subjects never look like plastic.
Contact Image Work India and Cloud Retouch today to elevate your photography with world-class, natural retouching services.


