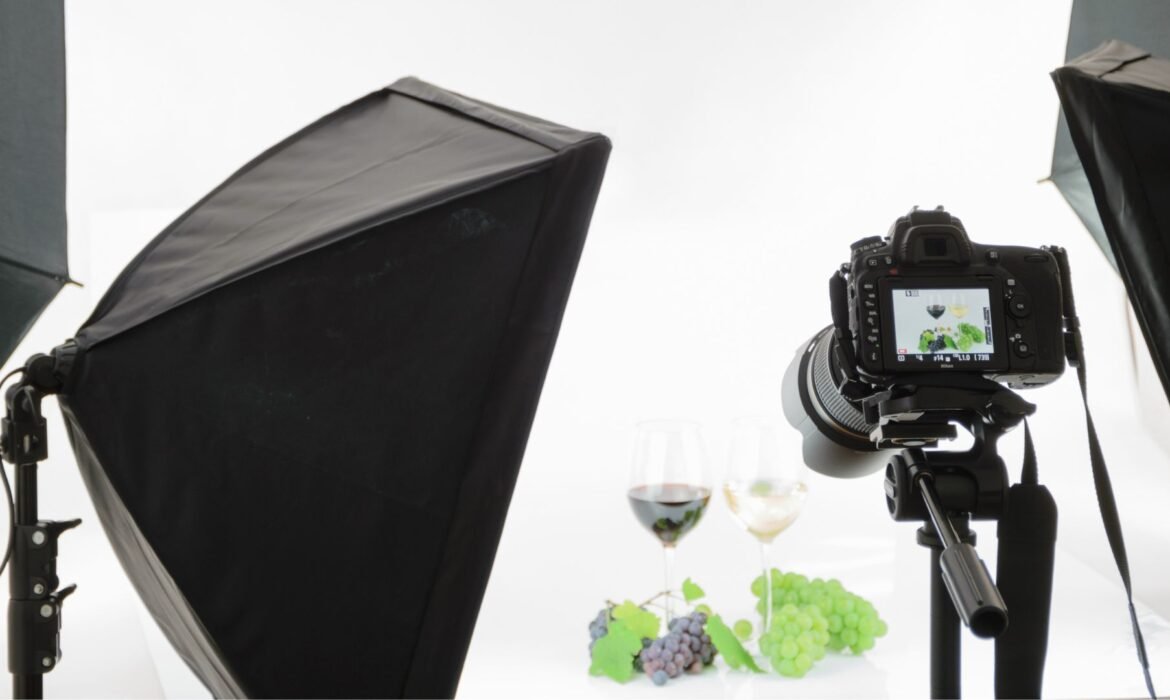
DIY Photo Studio on a Budget: Building with Mini Budget
Building your own photo studio doesn’t have to break the bank. In fact, with a bit of creativity and resourcefulness, you can create a stunning DIY photo studio on a shoestring budget. From crafting your own backdrops to finding affordable lighting solutions, this guide will take you through the steps of building a budget-friendly photo studio that doesn’t compromise on quality....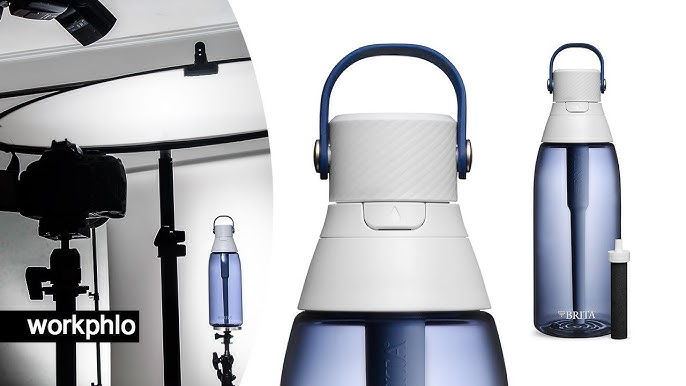
DIY Product Image Editing: 3 Essential Steps
In the world of e-commerce and digital marketing, the importance of high-quality product images cannot be overstated. An appealing and professionally edited product image can significantly impact a customer’s decision-making process. However, hiring a professional photo editor for every product may not always be feasible, especially for small businesses or individual sellers. That’s where DIY...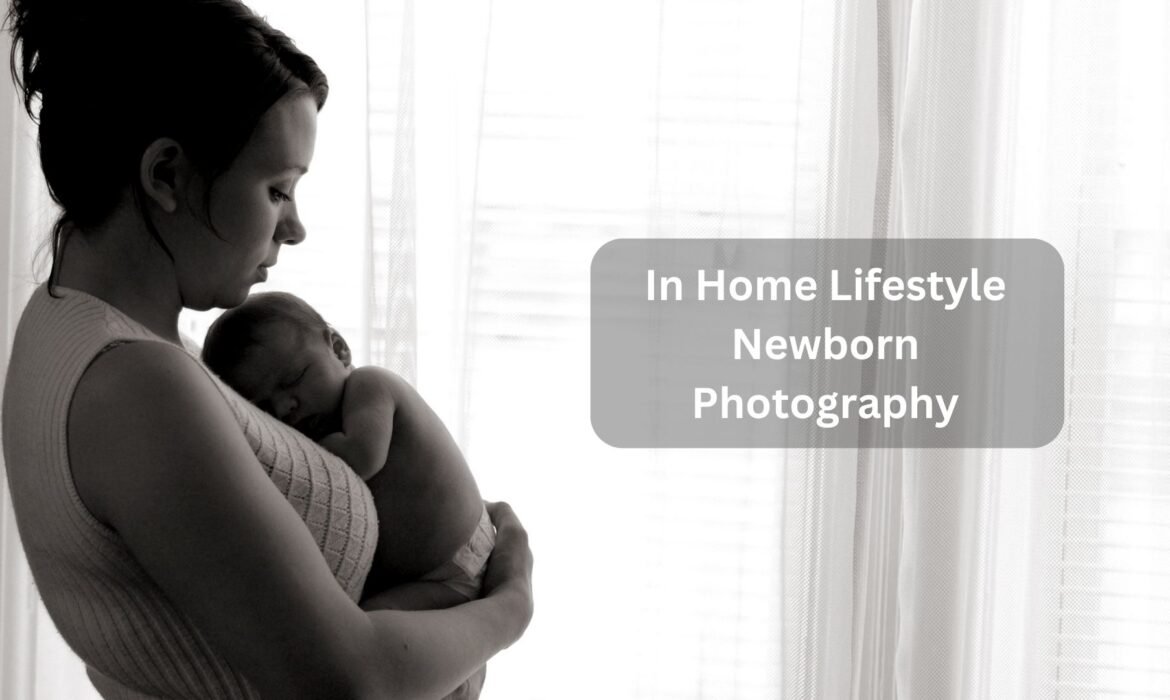
Guide to In-Home Lifestyle Newborn Photography
Welcoming a newborn into your life is one of the most beautiful and memorable experiences. As a parent, capturing those first precious moments in a natural and relaxed way is a priority. That’s where in-home lifestyle newborn photography comes into play. This type of photography has gained massive popularity over the years because it provides a real, authentic look into your family’s everyday...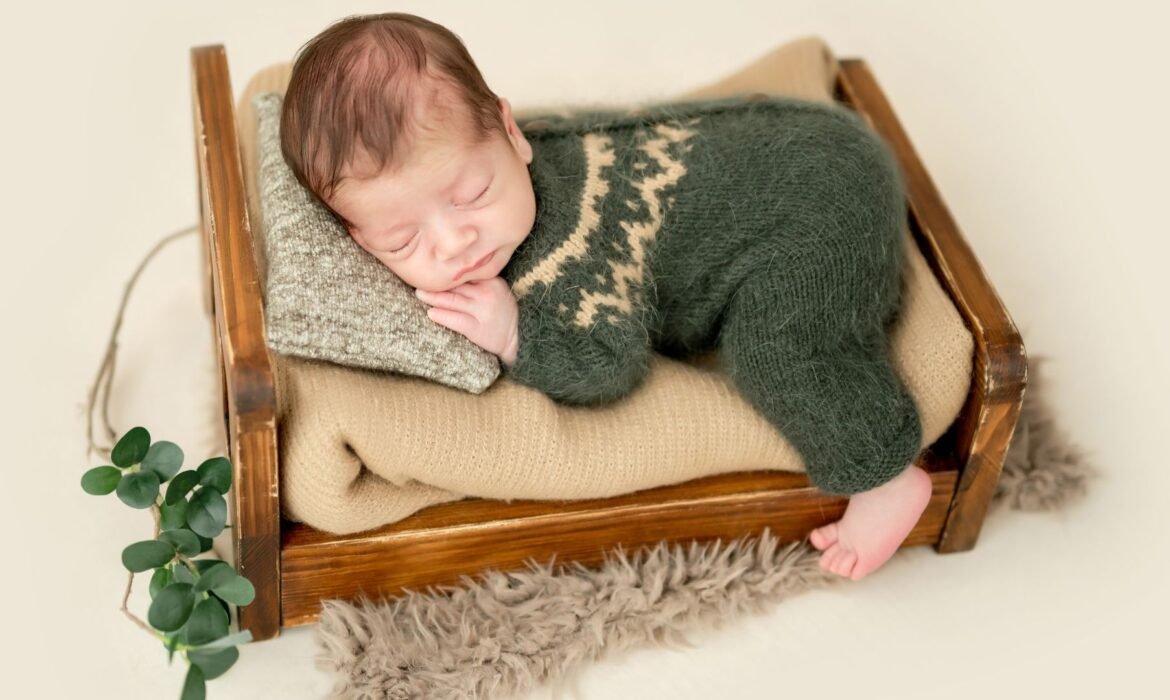
How to Use Beds in Newborn Photography
Newborn photography is one of the most delicate and beautiful forms of photography. Capturing the innocence and beauty of a baby in their first few weeks of life is both a joy and a challenge. Among the many props used in this genre, beds are a standout favorite for many professional photographers. Newborn bed photography creates a cozy and peaceful setting that enhances the natural charm of a...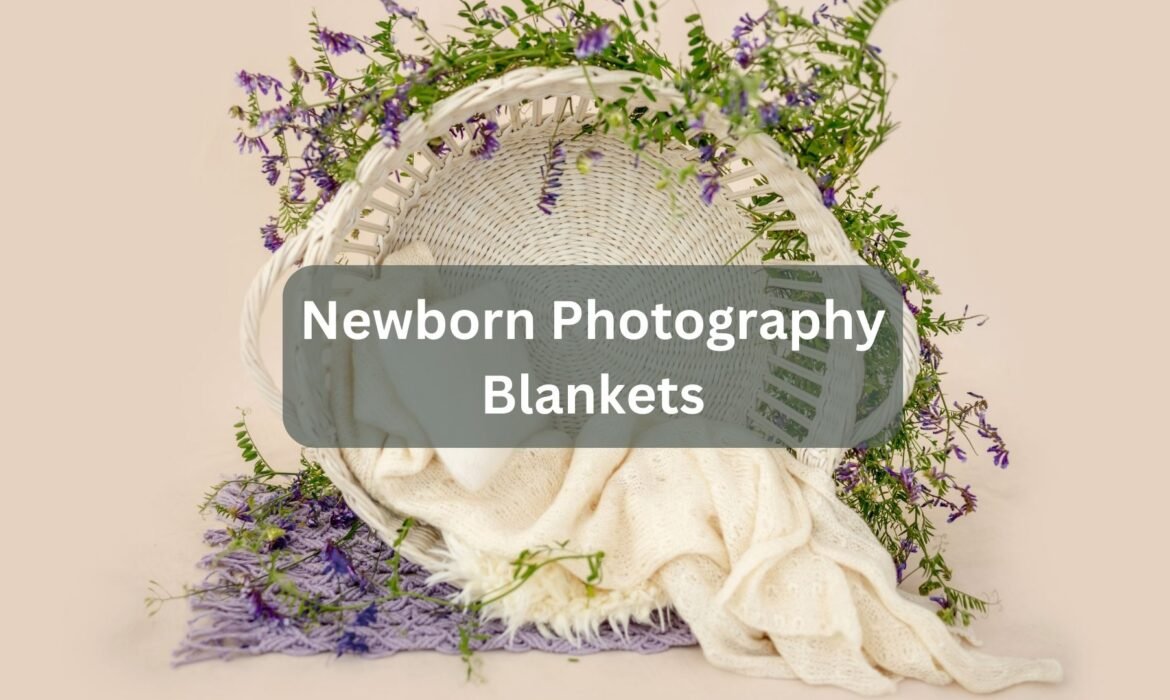
Best Blankets for Newborn Photography
Newborn photography is one of the most heartwarming genres in the photography world. Those first few days of a baby’s life are filled with precious expressions, tiny fingers, and moments that pass far too quickly. Capturing these memories through professional photos is a cherished tradition for many families. But while a skilled photographer and a peaceful baby are key components, the...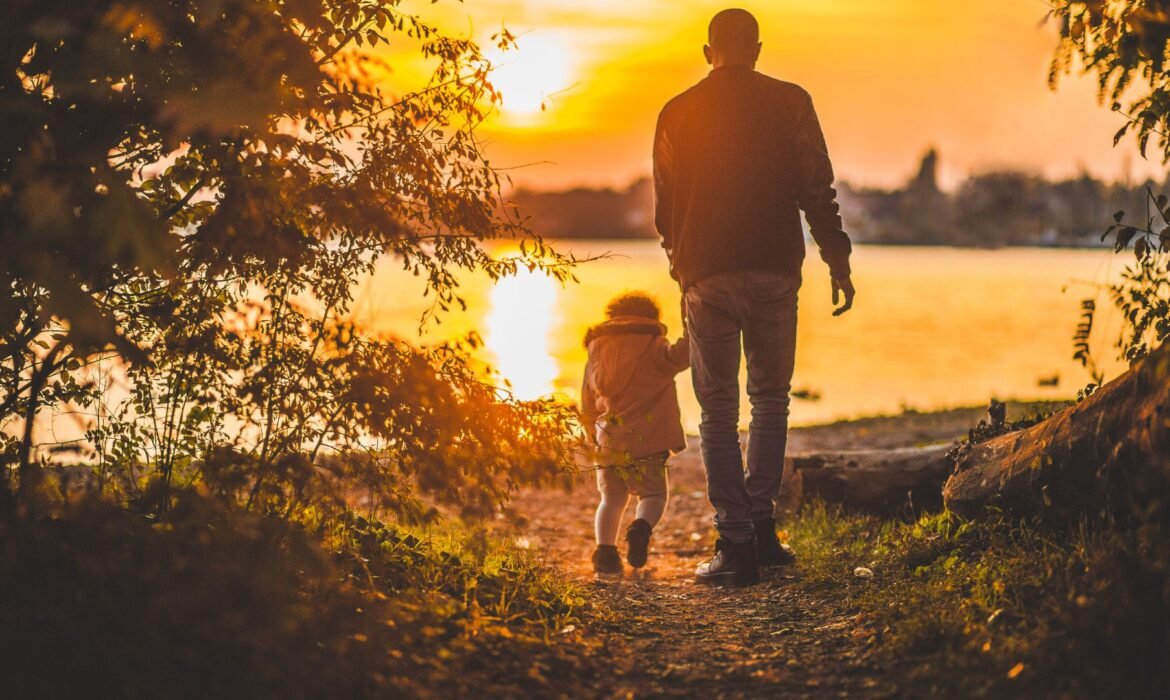
Dad and Newborn Photography: Heartwarming Ideas
The bond between a father and his newborn child is one of the most touching and powerful connections in the world. Capturing that bond through dad and newborn photography has become a cherished way to preserve those early moments. Whether it’s the soft touch of a father’s hand cradling his baby or the gentle look in his eyes, these photos hold deep emotional value for families. In this...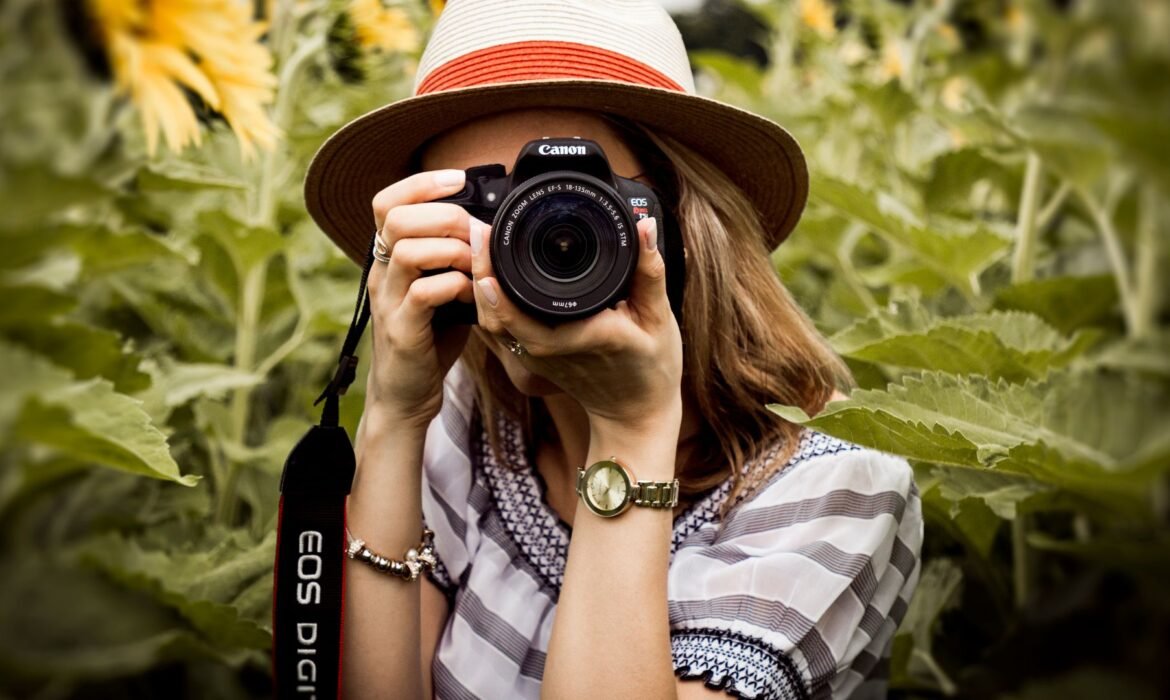
10 Creative Lifestyle Photography Ideas to Inspire Your Next Shoot
Lifestyle photography is an art form that captures the essence of life, focusing on real moments, real people, and natural beauty. If you’re a photographer looking for some fresh inspiration, you’re in the right place. In this article, we will explore 10 creative lifestyle photography ideas to help you elevate your next shoot and capture stunning, meaningful moments. Whether you’re...
A Comprehensive Guide to Choosing the Best 360 Photography Equipment
360 photography is an exciting way to capture and share immersive, panoramic images and videos. Whether you’re a professional photographer or an enthusiast looking to dive into this innovative field, selecting the right 360 photography equipment is crucial. The equipment you choose will directly impact the quality of your photos and videos, as well as the ease of use, budget, and your overall...
Mastering Lifestyle Product Photography: A Comprehensive Guide for 2025
In the ever-evolving world of e-commerce and digital marketing, lifestyle product photography is emerging as one of the most essential tools to grab customers’ attention. Lifestyle images breathe life into products, showing them in real-life scenarios that resonate with the audience. Whether you’re a professional photographer, an online seller, or simply someone looking to upgrade their...