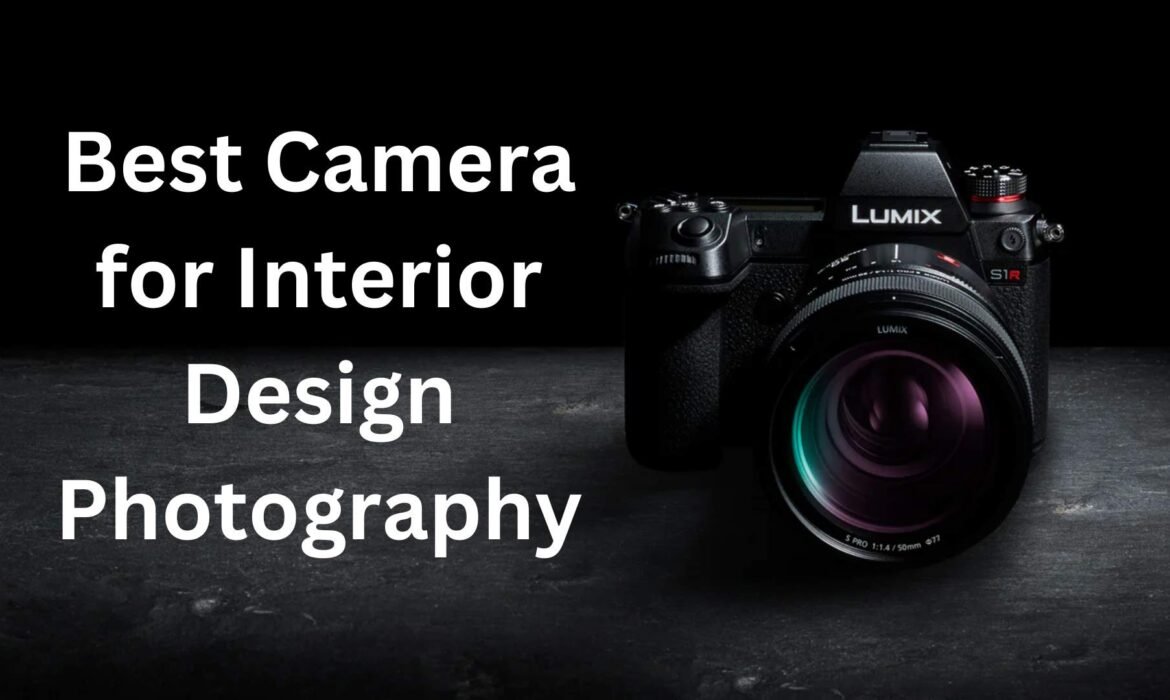
Top Cameras for Furniture Photography: A Buyer’s Guide
When it comes to furniture photography, having the right camera can make a world of difference. Whether you’re a professional photographer or someone just getting started in capturing furniture for online stores or catalogues, selecting the best camera for furniture photography is essential. This guide will help you understand the important factors to consider and highlight the top cameras...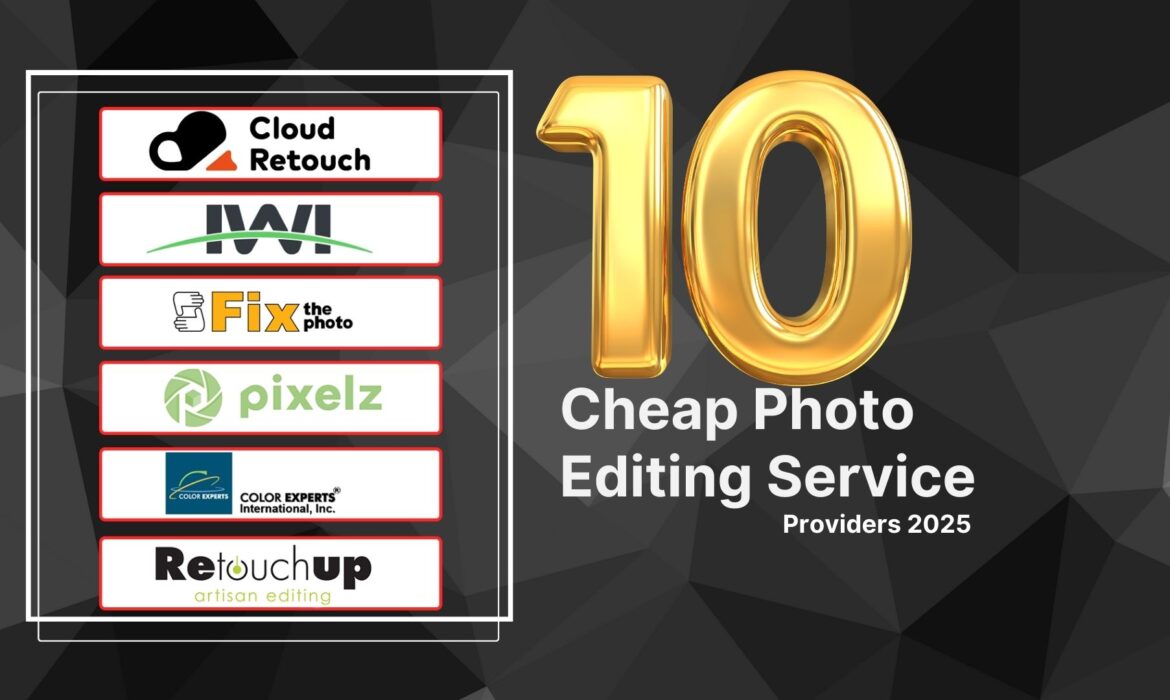
Cheap Image Editing Service Providers: Your Go-To Solution for Affordable Quality
In today’s digital age, high-quality images are more important than ever. Whether you’re running an e-commerce store, managing social media campaigns, or working on personal photography projects, polished visuals can make all the difference. However, professional image editing services often come with hefty price tags, which can be discouraging for small businesses, startups, or individual...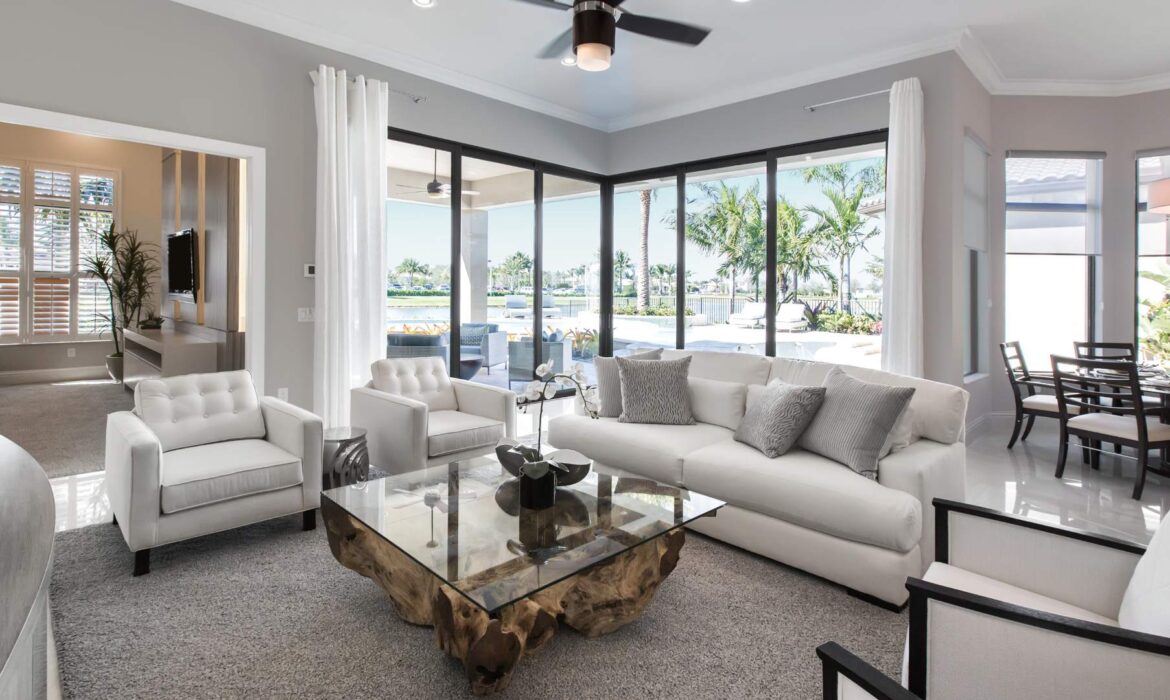
10 Tips for Professional-Level Interior Photography
Interior photography is a captivating art form that showcases the beauty and design of spaces. Whether you’re photographing for real estate listings, design portfolios, or just for the love of architecture, mastering interior photography can significantly improve your work and attract more clients. If you want to elevate your skills and create stunning images that reflect the true essence of a...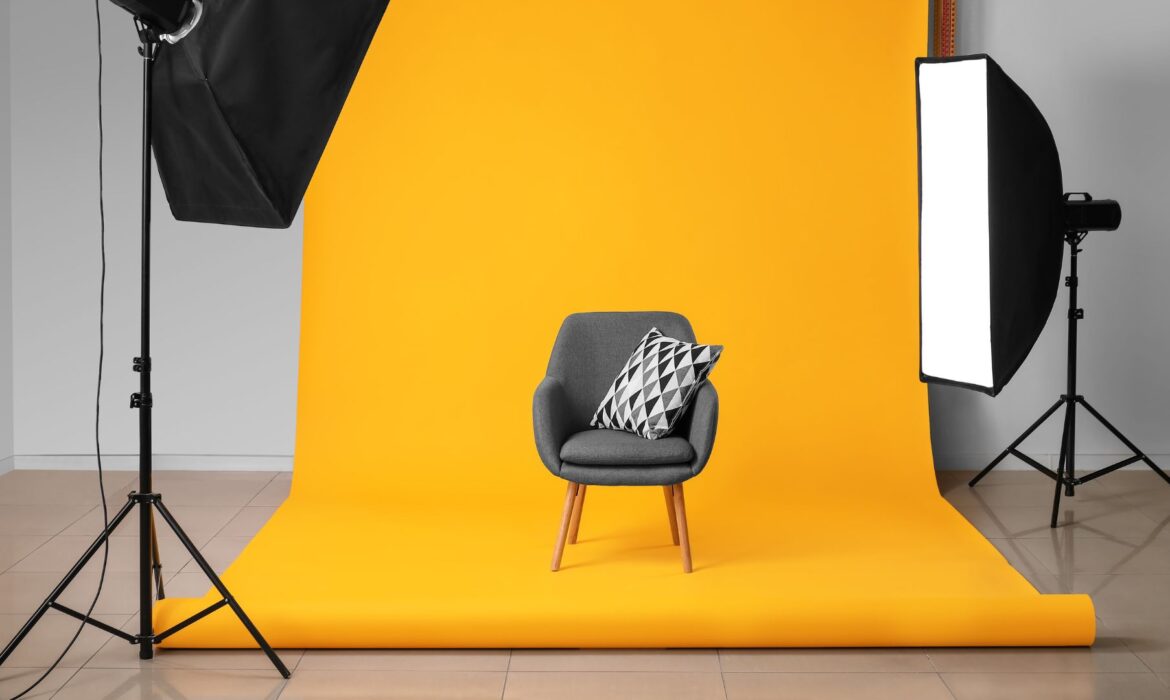
The Best Lighting for Furniture Photography
Furniture photography is an essential part of marketing, whether you’re a furniture retailer, interior designer, or online seller. High-quality images are crucial to showcasing the beauty and functionality of your furniture, and one of the most important factors that contribute to these images is the lighting. The best lighting for furniture photography can make a huge difference in how your...
Top 10 Best Image Editing Service Companies
In today’s world, images speak louder than words. Whether you’re a professional photographer, a business owner looking to enhance product photos, or just someone wanting to improve personal pictures, having access to top-notch image editing services is key. From minor touch-ups to complex image manipulations, professional editing can make a significant difference in how an image is perceived....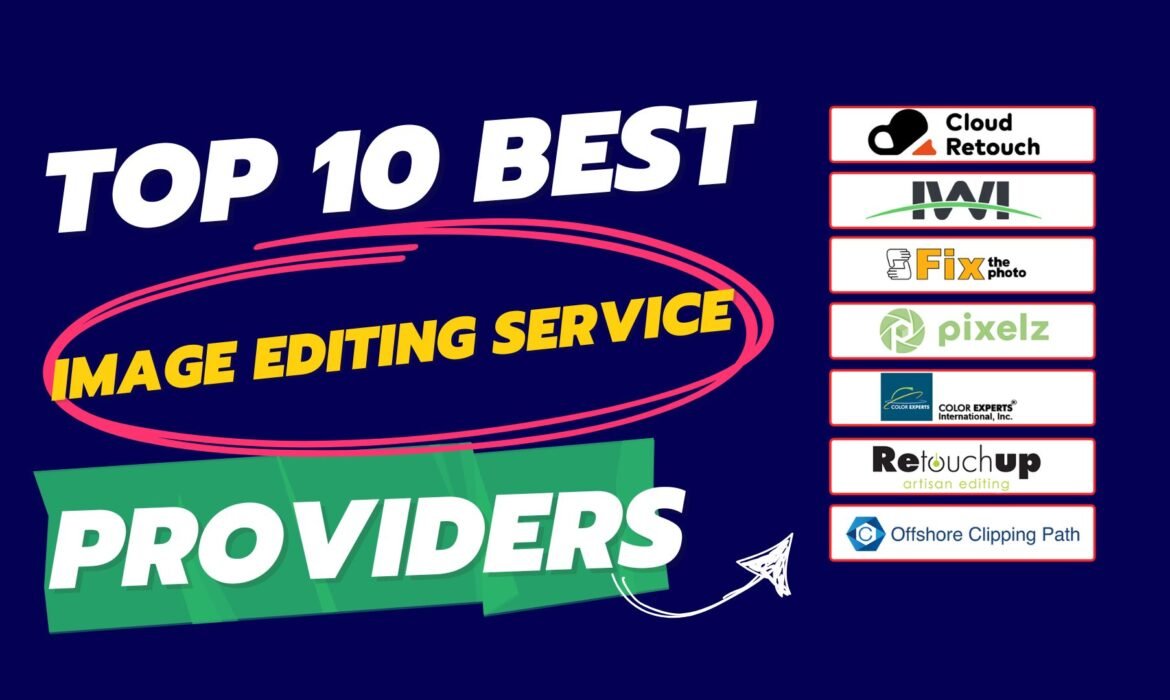
Top 10 Best Image Editing Service Providers
In the digital age, visuals play a critical role in communication. Whether you’re a professional photographer, a business owner, or simply someone looking to enhance personal images, having access to high-quality image editing services is key. With the rise of social media, e-commerce, and online marketing, more people than ever are seeking ways to make their photos stand out. This is where...Antique Furniture Photography: Capturing Vintage Charm
Antique furniture has a special allure. Its unique designs, intricate details, and history make it a highly prized possession for many. Whether you’re a collector, a seller, or simply someone who admires these timeless pieces, capturing the essence of antique furniture through photography is essential. Antique furniture photography not only preserves the beauty of these items but also tells...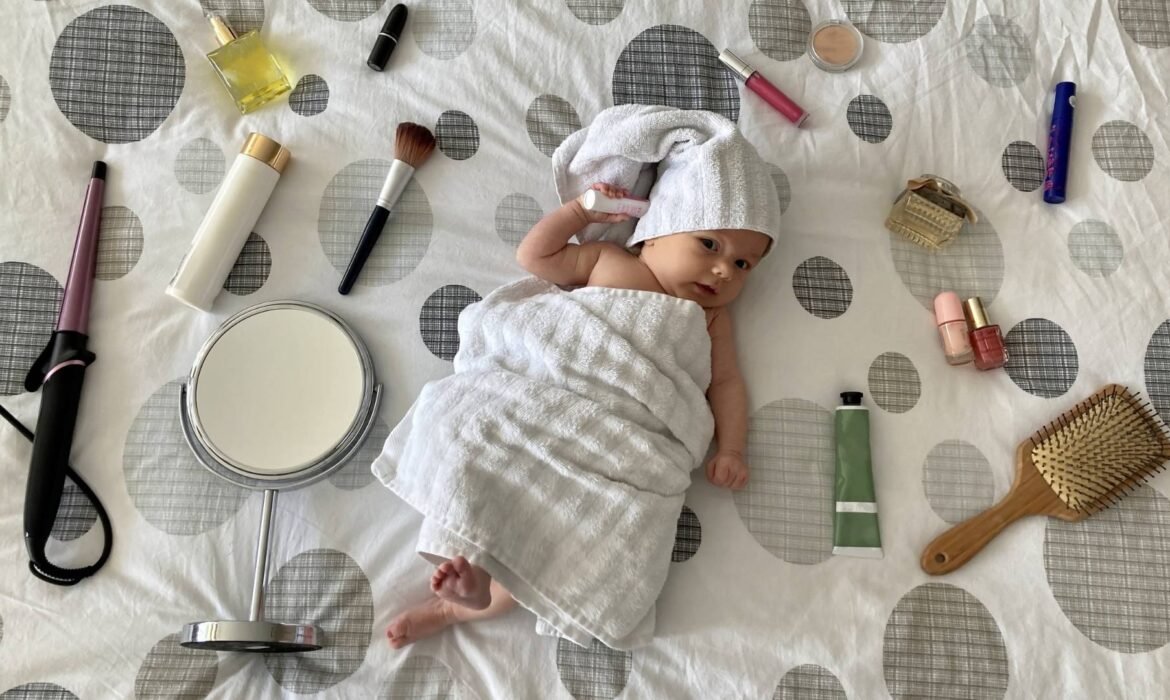
Newborn Photography Furniture Props: Adorable Ideas to Enhance Your Photoshoot
When it comes to newborn photography, the little details can make a huge difference in creating stunning, memorable images. One of the most important elements of a newborn photoshoot is the use of props, and when we talk about props, newborn photography furniture props stand out as some of the most effective and adorable choices. These props not only add charm and style to your photographs but...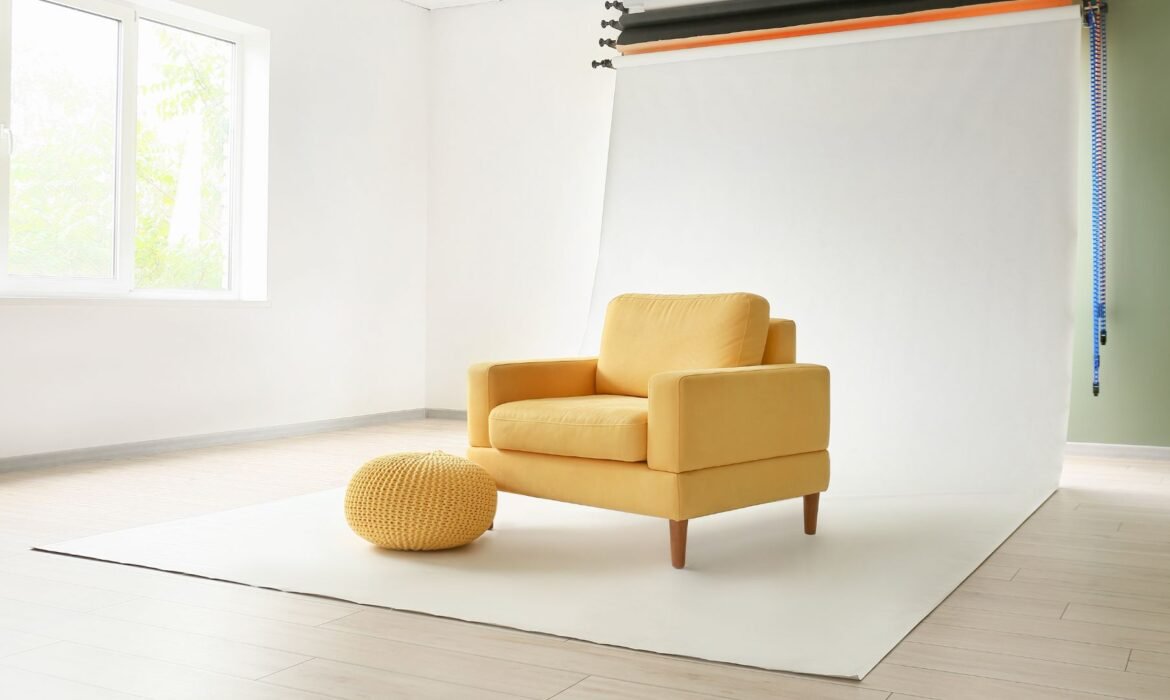
Furniture Photography Studio Setup: A Step-by-Step Guide for Beginners
Setting up a furniture photography studio is essential for anyone looking to capture high-quality images of furniture. Whether you’re a professional photographer or a beginner, the right studio setup can make a significant difference in the final product. In this article, we will guide you through the process of creating a furniture photography studio from scratch. You’ll learn about the...